Showing posts with label customizable. Show all posts

Tuesday, February 2, 2016

Super Wing: The Party Awakens

Okay, fair warning that is a post related to the big sporting event this weekend. However, this is an appetizer that ultimately will please any palate, I promise. If sports isn't your thing, no problem. Do yourself a favor, give this recipe a chance because we are talking about wings!! Oh yeah! This is one of the most recognizable foods you can find anywhere. Happy hour, hour of the big game or just snack hour, these little beauties will fit the bill. To prove my point, here is the finished photo of what you could be enjoying.


The best thing about these wings is the flavor profile is rather unique and can really deliver that wow factor. They are tangy, sweet, citrusy, and a balanced punch of salt. In addition, making these wings is so, so simple. Marinate and cook. Done. That is it, for real. Ready? Let's get it!


This is a recipe that I have adapted. So, if you want to see the recipe in all of it's glory, here is the original.


Super Party Wings

Ingredients:

2/3 cup fresh lemon juice 
2-4 tablespoons soy sauce 
1-2 tablespoons sugar 
1 1/2 teaspoons garlic powder 
1/2 teaspoon onion powder 
20 wings, cut in half at joints, without wingtips
fresh ground pepper

 Directions:

In a bowl, combine the first 5 ingredients. Stir the mixture until the sugar dissolves.
Add the wings into a resealable plastic bag and pour in the mixture, make sure the bag is sealed, and toss the wings until they are all coated. Let the wings marinate for as little as two hours or let them go overnight.
Fire up your favorite grill and cook. This will take about 15 to 20 minutes or until the wings are cooked through. Be sure to turn these wings frequently because the sugars will carmelize and you can burn these wings easily. 


 If you prefer to cook these in your oven, place the wings on a foil covered baking sheet and set your oven to 400 degrees. This will take between 45 minutes to 60 minutes depending on your oven. Again, same rule applies, check on these frequently so your wings don't get too dark. If you are worried they are getting dark just throw another sheet of foil over the wings. This will keep them from burning, but still allow them to cook through. Trust me, it works really well as I have been there.

After that, well, serve with your favorite condiment and enjoy! May I suggest some homemade barbecue sauce. If you are more classic and would like a homemade ranch dressing, then you can find that too.

I have made a few changes relating to the ingredients on this list. First, I use a little less soy sauce because of the amount of salt in it. Even if you use the low sodium soy sauce the salt can add up quickly. I normally start with 2 tablespoons and then I adjust accordingly. Also, I start with less sugar to keep the wings from getting burnt and I really love the punch of the lemon juice and find I don't miss the sugar. You can always add, but it doesn't work so well to take stuff out of the mix. If you want a little spice add a little chili powder or chili flake to give these some heat. You can always taste the marinade before you add the chicken and I highly recommend it! The other option is to make a tester wing if you want to see how they are seasoned as well.


If you find that you have finished your wings before you are ready to serve and want to keep them warm, put them in the oven at 200 degrees until you are ready to serve. Go ahead and cover them with foil to keep the steam and moisture in the wings as well.
 
You might find that this becomes one of your go to dishes for entertaining anytime of the year. You won't need to even mention sporting to score with these! Can't wait for you to give these a try!

As usual, feel free to email me or comment on the post and let me know what you think. I look forward to hearing from you. Enjoy!

Thursday, September 10, 2015

Seasoning-Rubbing You The Right Way

I am digging in the pantry to grab my coffee rub and I realize that I barely have enough to season the piece of pork that is destined for the grill. This is not good, I think to myself. In order to fill the gap, I reach for another rub that was the original inspiration for my coffee rub. To my own culinary dismay, I had to scrape and shake out every morsel out of that container so I could get to the barbecue. As soon as the meat was on the grill, I wrote myself a note to get to the store and buy myself some more of this standard seasoning. I finished dinner and announced I needed to go to the store tomorrow so I could buy more. Buy more?? This is five ingredients. Why am I not making some myself? I don't know about you, but it was time to resolve that problem. So what is it?

Before I get into what I made, I have talked about rubs on the blog before, but I can't resist the opportunity to give you another example of the flavor combinations you can achieve. For example, you can check out my coffee rub if you want something that is a little outside the box, but I promise, you can't go wrong.

Alright, let's get back to the main event. Say hello to our honored guests paprika, salt, fresh ground pepper, brown sugar, and dried thyme.


Needless to say, when these five get into the room together, you can be certain they will bring amazing flavor that is sure to please any palate.These are guests that I invite to my dinner table time and time again. It is sweet with the brown sugar, spicy with the black pepper, the dried thyme gives it a bit of herbaceous undertone, the salt provides a little bit of punch, and the paprika rounds it out with the earthy, smokiness with just a little a bit of heat on the back end.

This will work for fish, chicken, pork, vegetables, steak, lamb or any other protein you want to cook. You can either use this on the grill or if you are searing in a pan. The possibilities are endless for how to apply it. You could use it for a marinade, low and slow cooking, quick cooking on the barbecue or sprinkle a little on some freshly grilled buttered corn. The corn is one of my favorites!!

How do you make it? It is pretty simple. Mix the following in a bowl.

2 tbsps paprika
1 tbsp kosher salt
3/4tsp-1 tsp fresh ground pepper
1 tbsp brown sugar
1 tsp dried thyme

Combine and store and a container of your choice. Done! As usual, feel free to adjust this mixture if you want more or less of anything. I make a double batch as a single batch goes very quickly in my house.


Enjoy!

Sunday, April 19, 2015

What The French Toast?!

It is Sunday morning breakfast, and yes, we are talking french toast! True, you can get french toast anywhere, but nothing beats a super easy, rich, and flavorful homemade french toast. I add something that gives this french toast a special twist. Ready, let's go!

This recipe is meant to serve 2-3 people, so adjust accordingly.

Recipe:

4-6 slices of 1 inch thick bread slices (we usually use about 1/2 of a loaf, but we will talk about bread below)
3 Eggs
1/2 - 3/4 cups of milk
A pinch of salt
2-3 teaspoons of lemon zest

I use a cast iron pan for my french toast, but you can also use a heavy-bottomed nonstick pan, an electric griddle or a griddle pan instead if you prefer. 


Oh, wait, did I say lemon zest? Yes, lemon zest! As we have talked about before lemon zest brings a nice citrus note and a touch of acidity to rich or filling foods. Want a refresher about how we can lemon zest? Check my "Batter Up" blog post. French toast is a rich, sweet dish, which is what you want -- and the lemon zest is a nice way to cut through the richness to provide a little relief to your palate. That's why lemon zest is the way to go.


Next is the important task of selecting the bread that you will lovingly devour when this is finished. First up, try to stay away from pre-sliced packaged bread that is on every corner of of shopping grocery store aisle. The aforementioned sliced bread won't stand up to taking on our egg custard that we need in order for this recipe and it is a crucial element of a successful fresh toast. Also, a lot of those store breads can bring a funny flavor to the party or you may end up with nut studded french toast, which I will say won't make, if I may, "good eats."

Okay, what should you be looking for in your bread based companion? Try a loaf of fresh french bread from your local grocery story or bakery, as well as brioche, challah bread, or sourdough bread will do very well here. We are choosing these fresh bread options for a couple of reasons, unlike many national brand breads you can often find bread options with a lot fewer unnecessary ingredients, you get to slice the bread at the desired thickness level you want to use for your french toast (versus pre-sliced breads), and lastly -- the interior layer within these breads will gladly and willing soak up the custardy goodness you are putting forth with your french toast recipe.

Picture time? Yes, I think so!


This is what we ate. Oh, so good!


"My name is Bread, Challah Bread." We use challah bread for our french toast recipe, and this is what it looks like. Yes, the end is missing because tasting and quality control is so important!!


Eggs and lemon zest getting together.


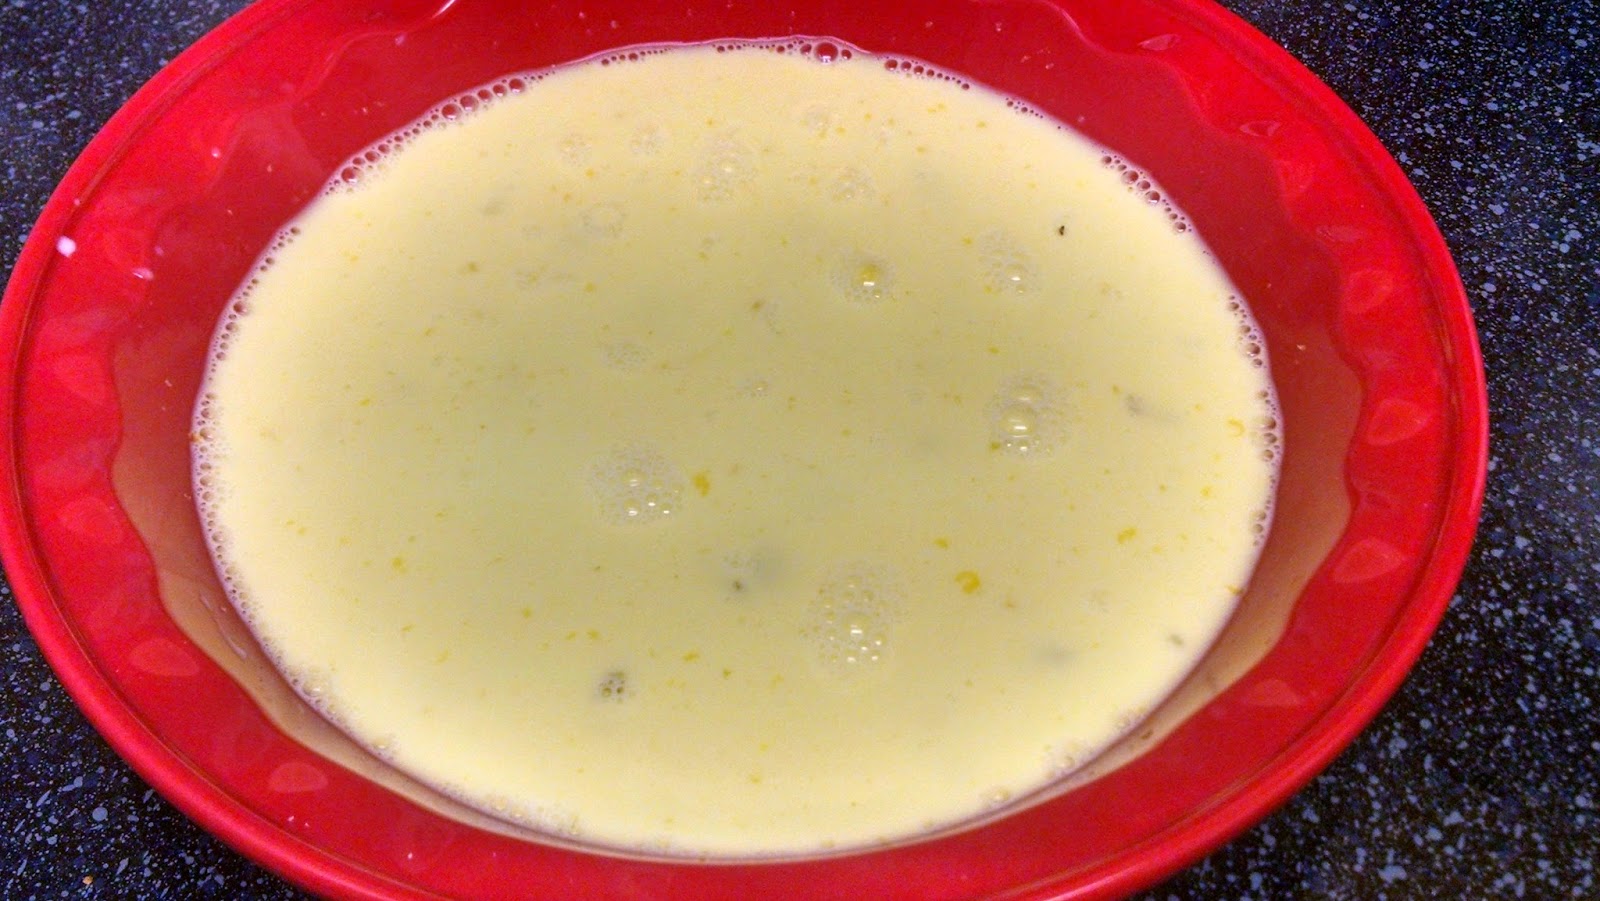
Captain, we have custard in sight.


The bread is getting its soak on. I would say about 60 seconds or so per side in order for the custard to absorb all the way through.

Here is everything you will need to make this happen all staged and ready to go. Consider this my Model FT assembly line for french toast.


This photo shows the golden brown deliciousness we want to achieve. Cook your bread on the cast iron "griddle" for a few minutes per side on medium heat until you get this color on both sides of the bread. When you first put the bread in the pan make sure your pan is hot or you will end up with soggy, mushy french toast.

I will let this photo sink in......You will never need french toast from an I-Pancake restaurant again.


Success! What a way to start your weekend day! :)