The good news is that you don't have to get fancy to make mac n' cheese delicious. In fact, this kitchen staple provides a unique and interesting twist on this classic dish. For those of us with kids or those who have trouble sneaking veggies into your meals, good news, we are about to break the mold.
Say hello to Cauliflower Mac n' Cheese. I can't tell you how tasty and easy this version is to make. What makes this the best recipe is you don't need to master any complicated french techniques to make your cheese sauce. Oh no. You dump everything into a pot and let the heat and cheese pull this masterpiece together. Sounds good, right? It is that simple, I promise.
Ready to do this? Lets Go!
Cauliflower Mac N' Cheese
This recipe has been adapted by me, but here is the cauliflower mac in its entirety from Real Simple.
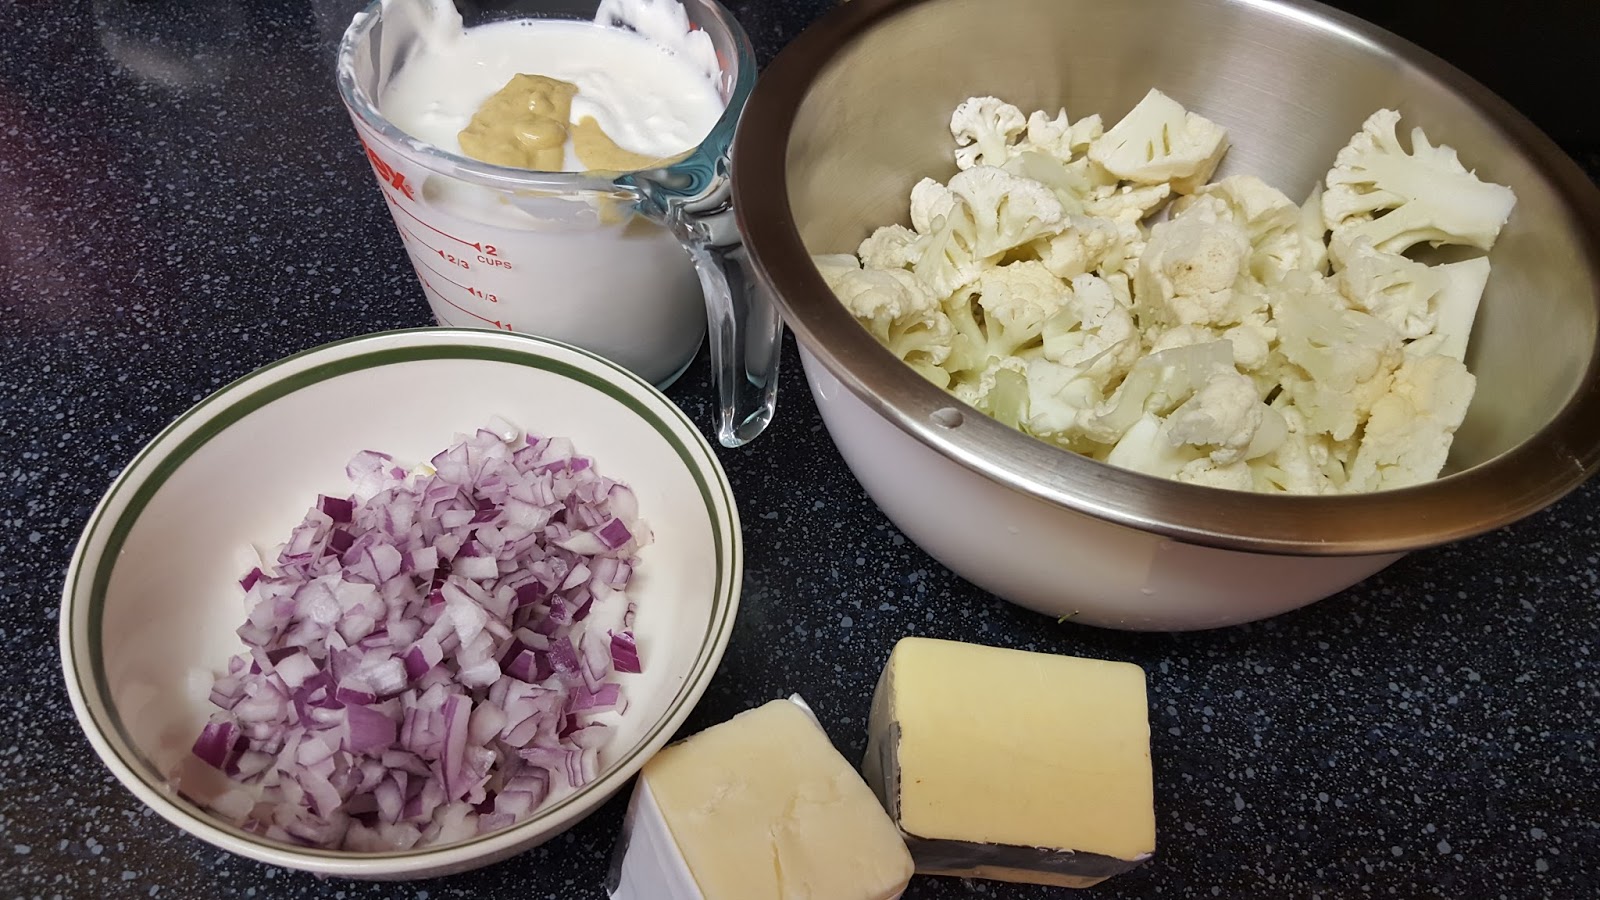
Ingredients
12 ounces multigrain elbow macaroni or pasta
of your choice
1 head
cauliflower, roughly chopped
4 slices multigrain bread, torn
½ cup fresh flat-leaf parsley, chopped
1 tablespoons olive oil
kosher salt and
black pepper
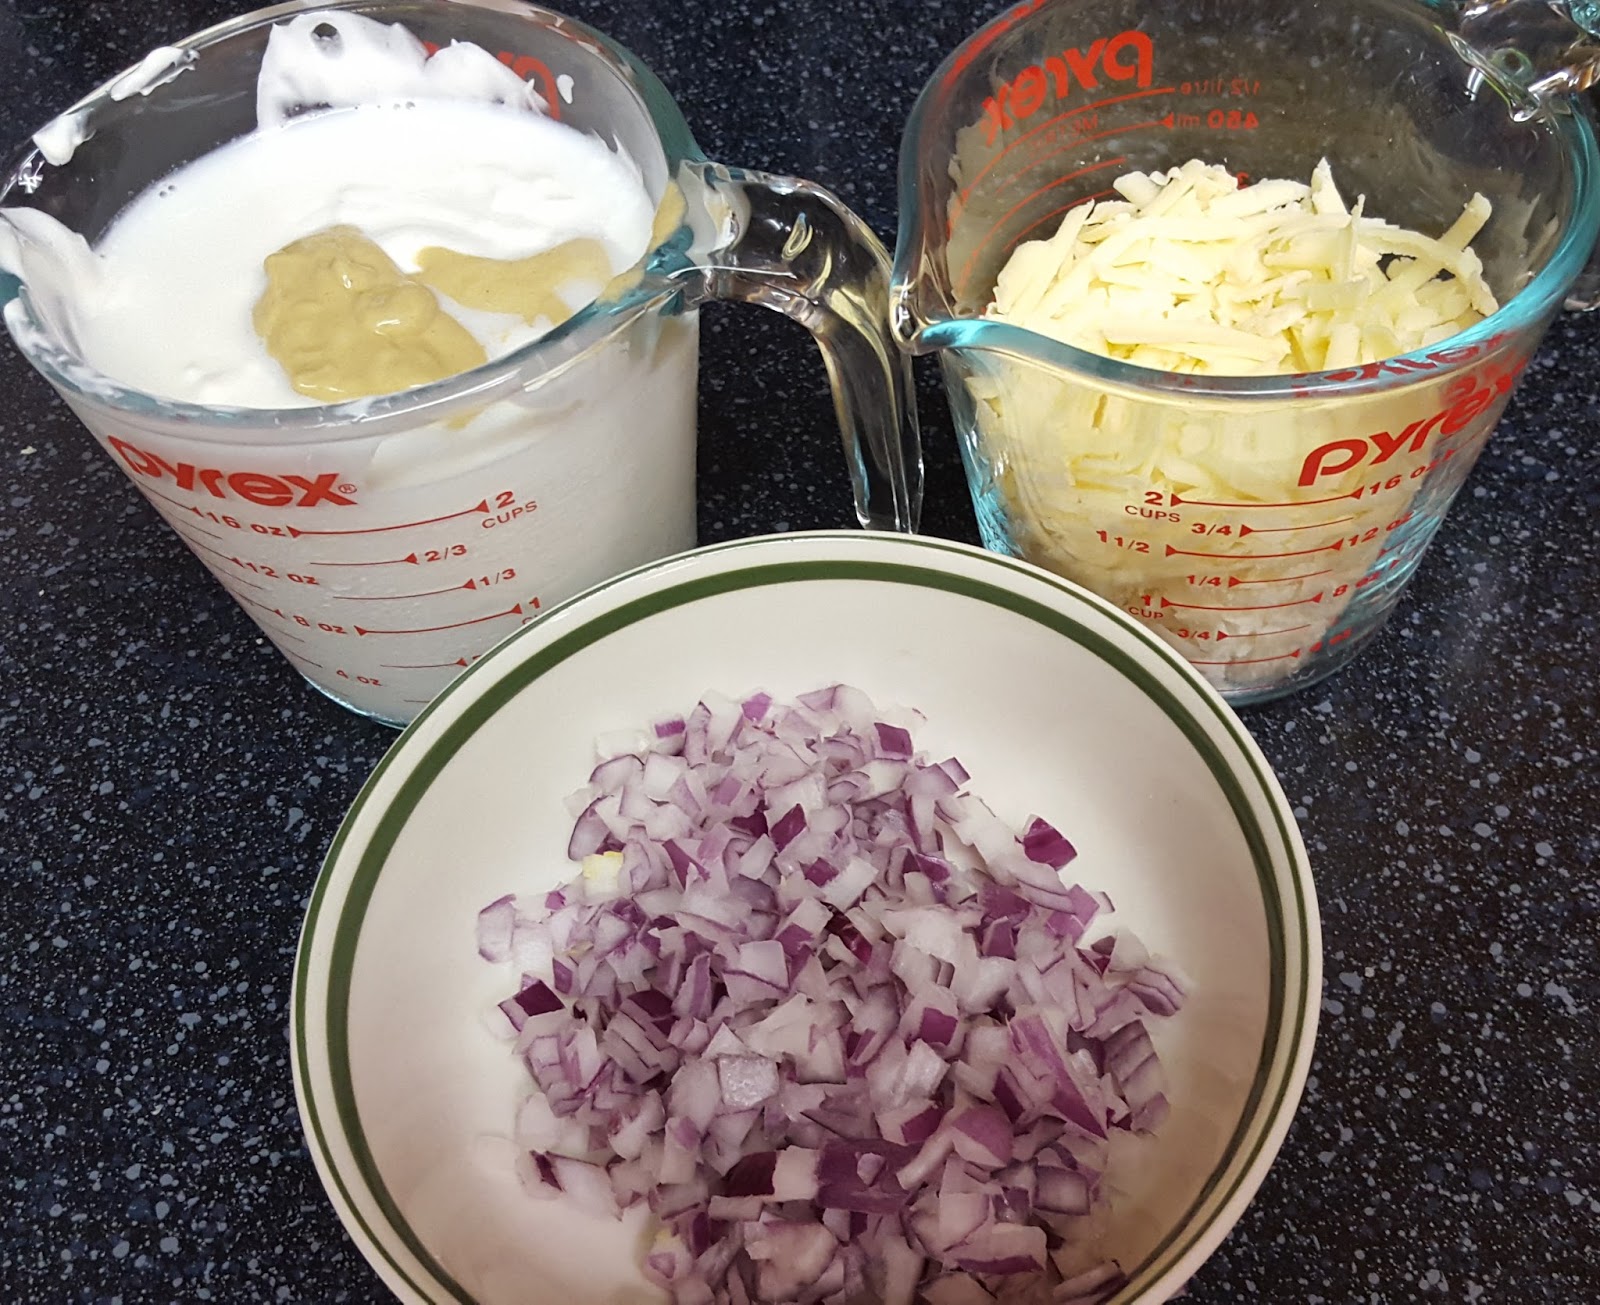
1 yellow or red onion, finely chopped
1 ½ cups grated
extra-sharp Cheddar (6 ounces)
1 ½ cups reduced-fat sour cream
½ cup 1 percent milk or milk of your choice
1 tablespoon Dijon
mustard
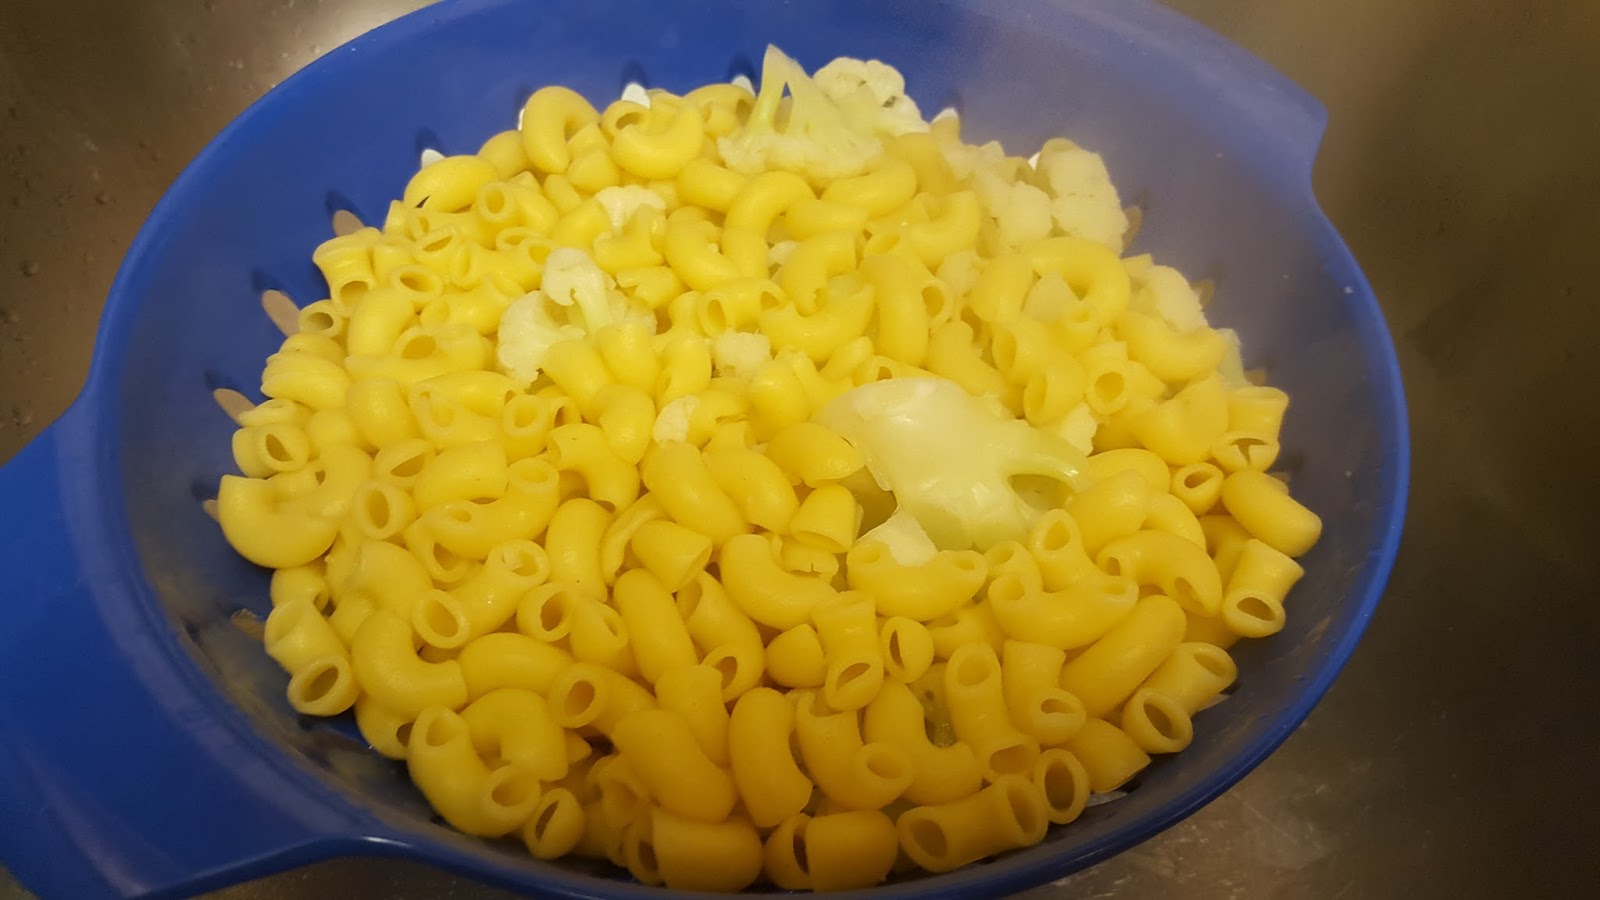
Turn your oven to 400 degrees. Bring your water to a boil and season with salt. Cook the pasta until al dente or follow package directions,
adding the cauliflower during the last 3 minutes of cooking time; drain.
Meanwhile, pulse the
bread in a food processor until coarse crumbs form. Add the parsley, 2
tablespoons of the oil, and ¼ teaspoon each salt and pepper; pulse to combine.
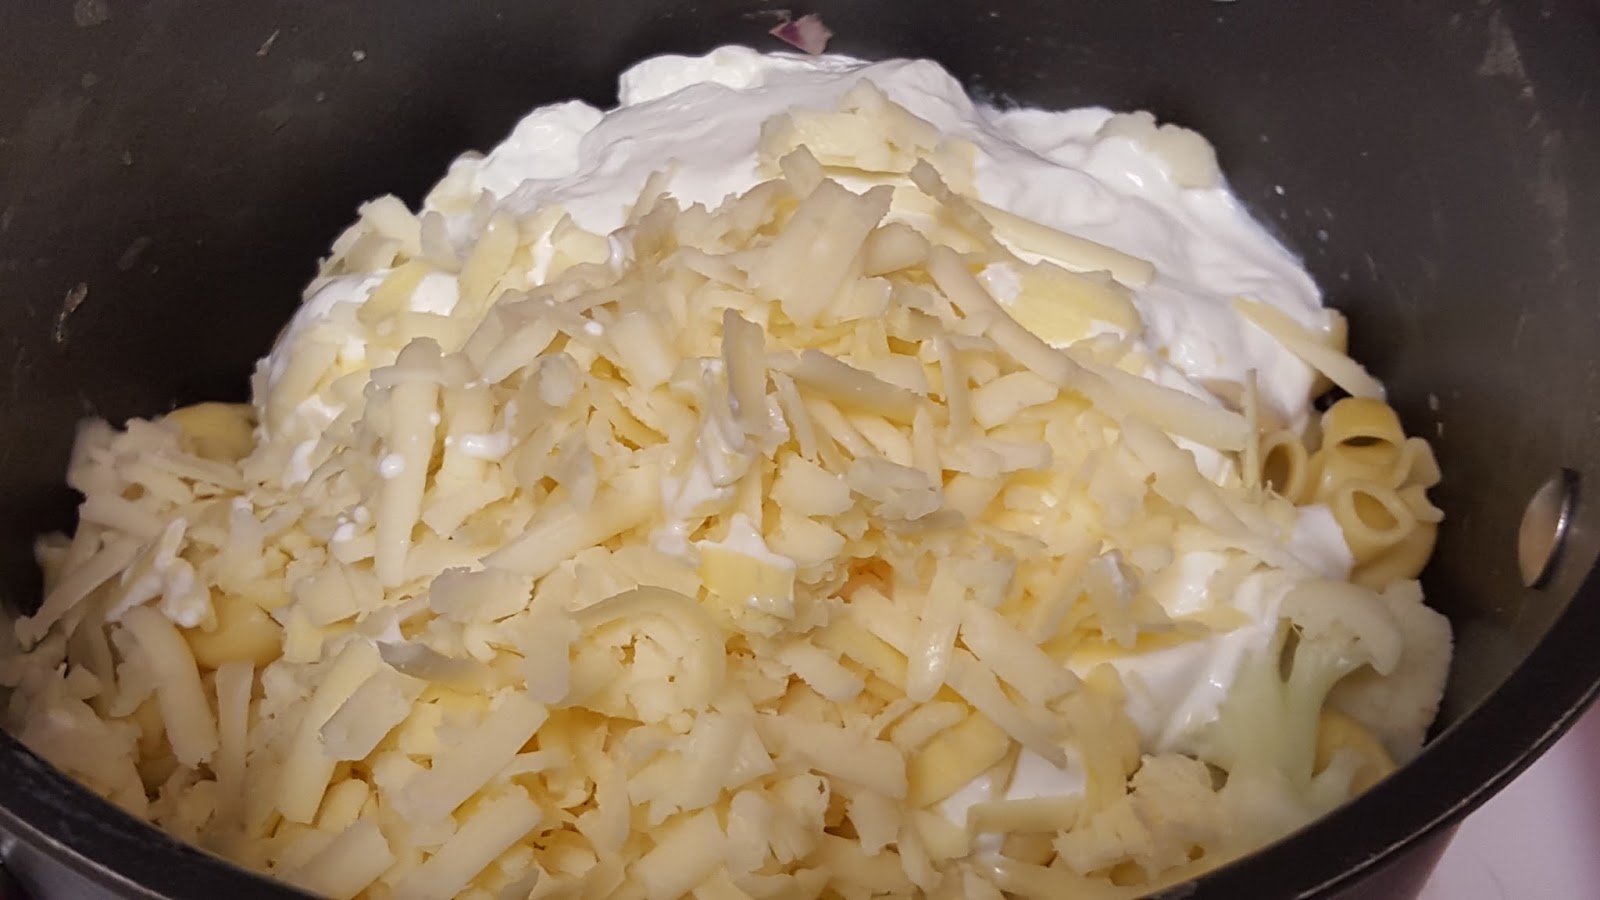
At this point, you will should have these ingredients left to add, which include cheese, your sour cream mixture, and the onions.
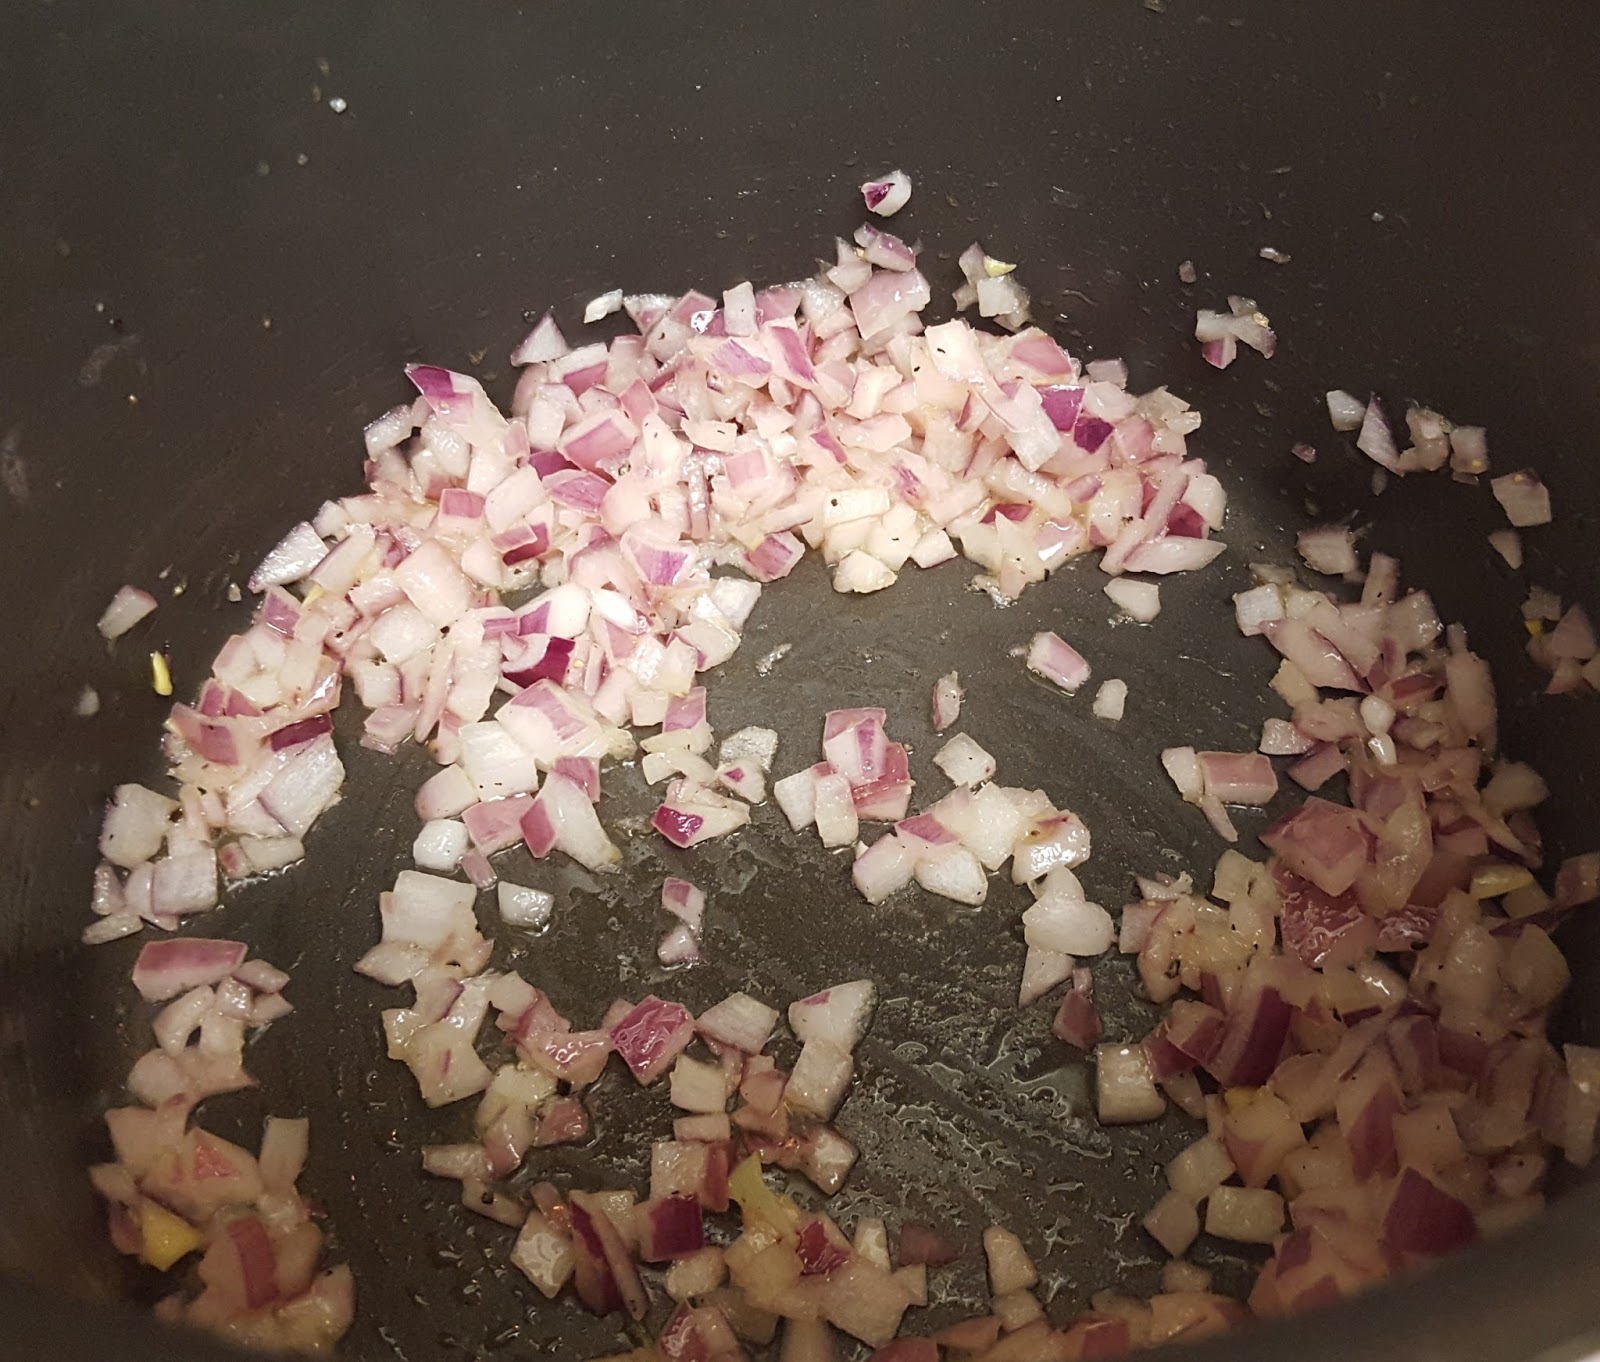
Return the pasta pot to medium heat and add the remaining
tablespoon of oil. Add the onion, season with salt and pepper. Cook the onion,
stirring occasionally, until soft, about 5 minutes.
Mix in the pasta and cauliflower and the cheese, sour cream,
milk, and mustard.
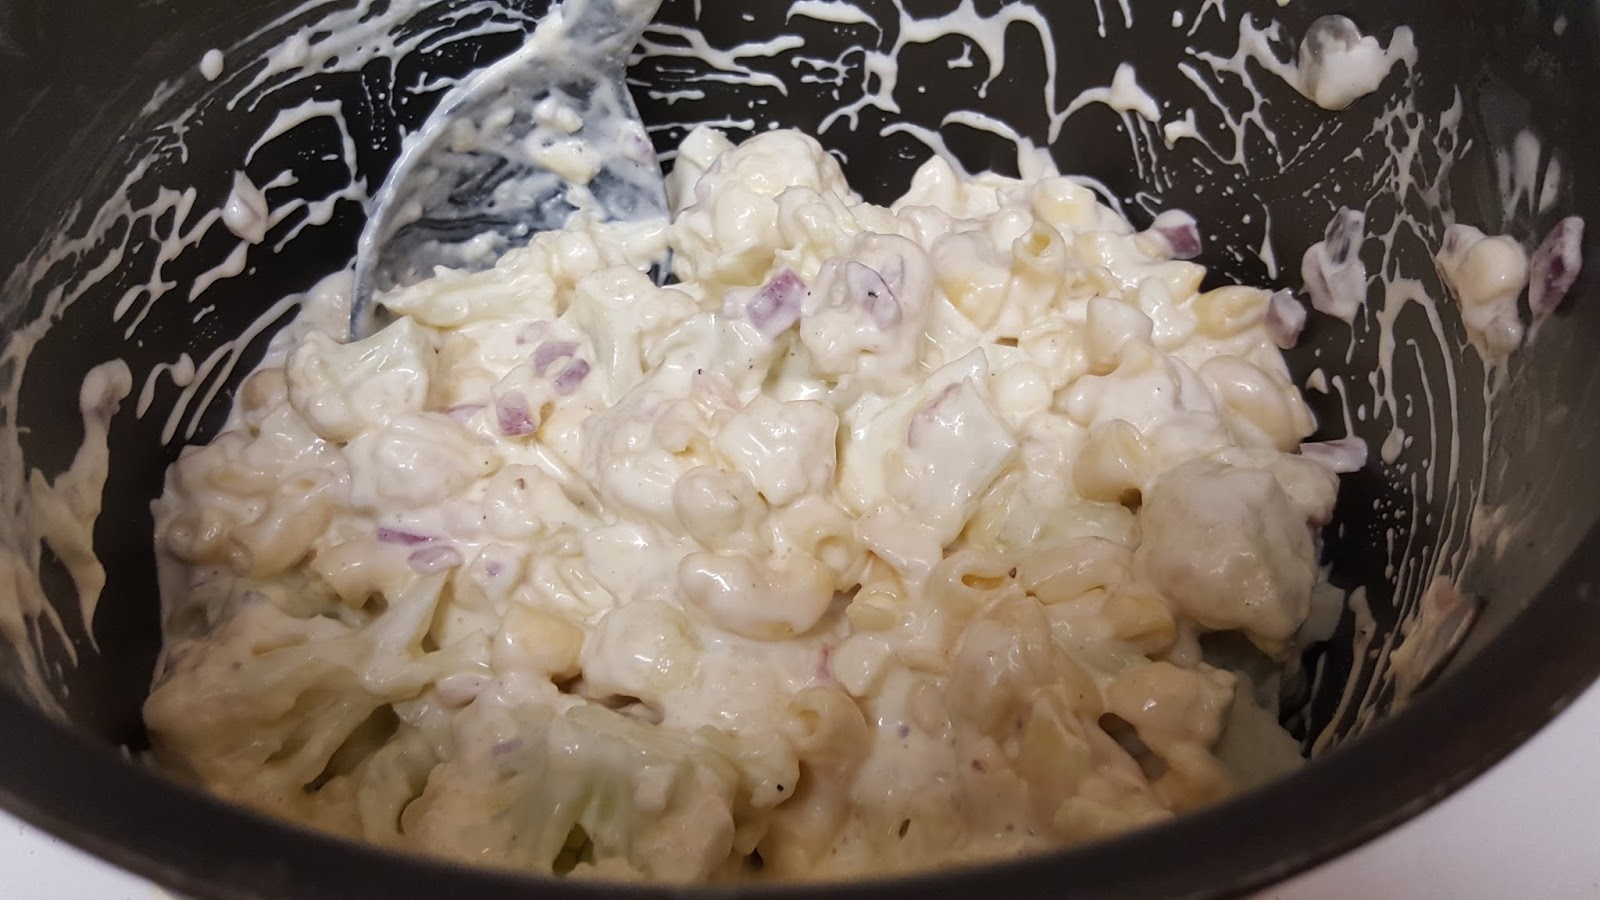
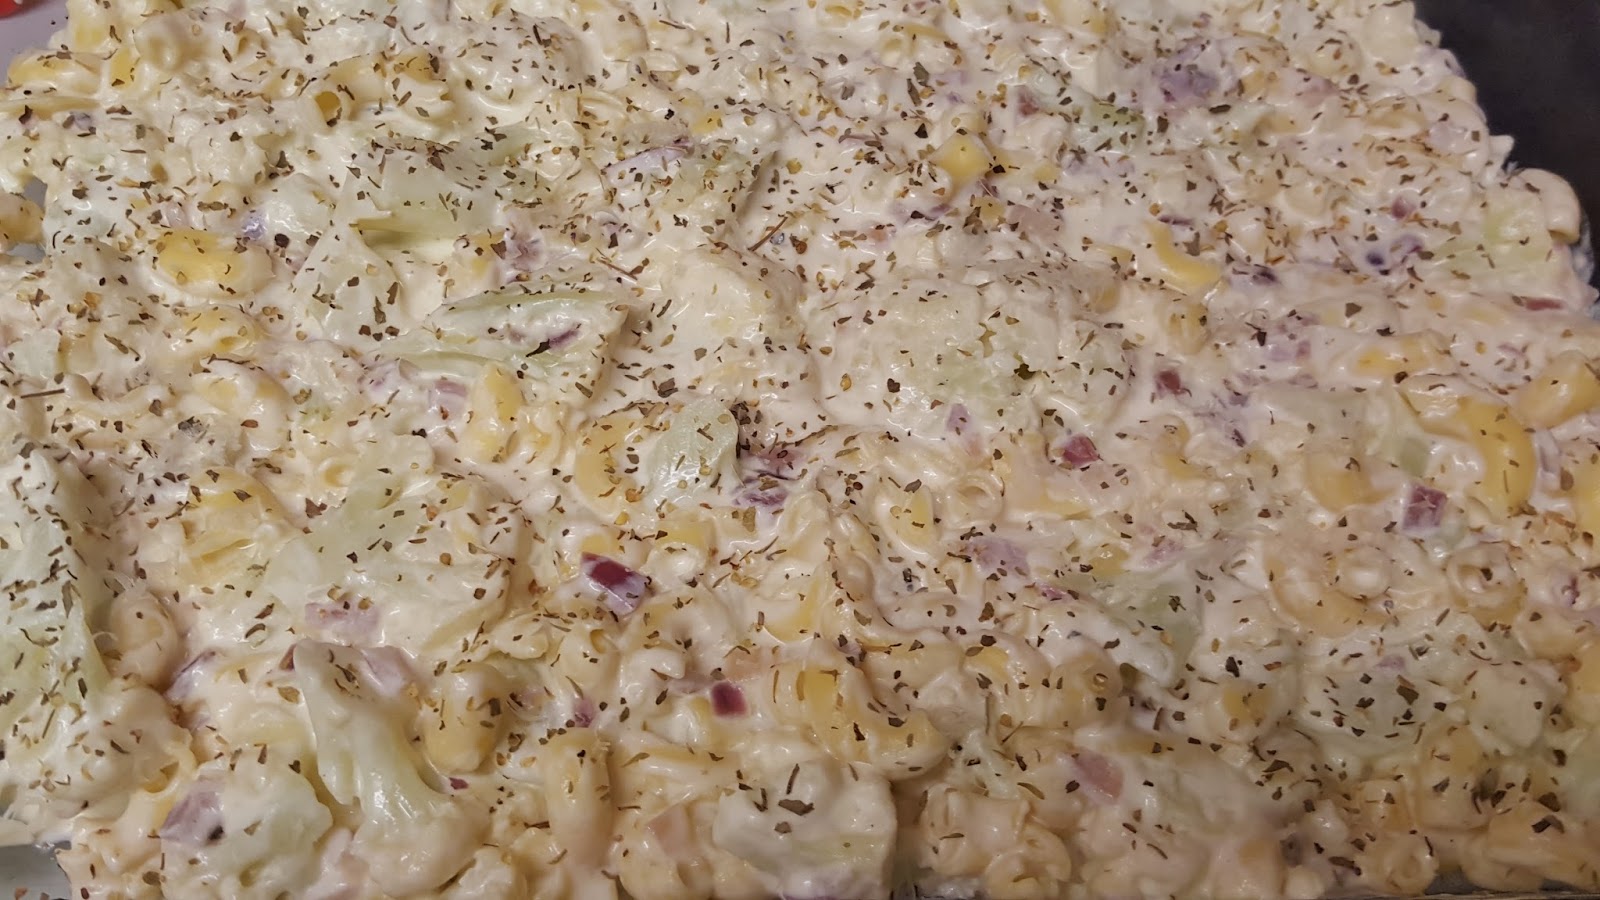
Transfer to a shallow 9x13 baking dish and evenly spread the mixture out.

Sprinkle with the bread crumbs, and bake until golden brown, 12 to
15 minutes.
When the mac comes out of the oven, you should something that looks like this.
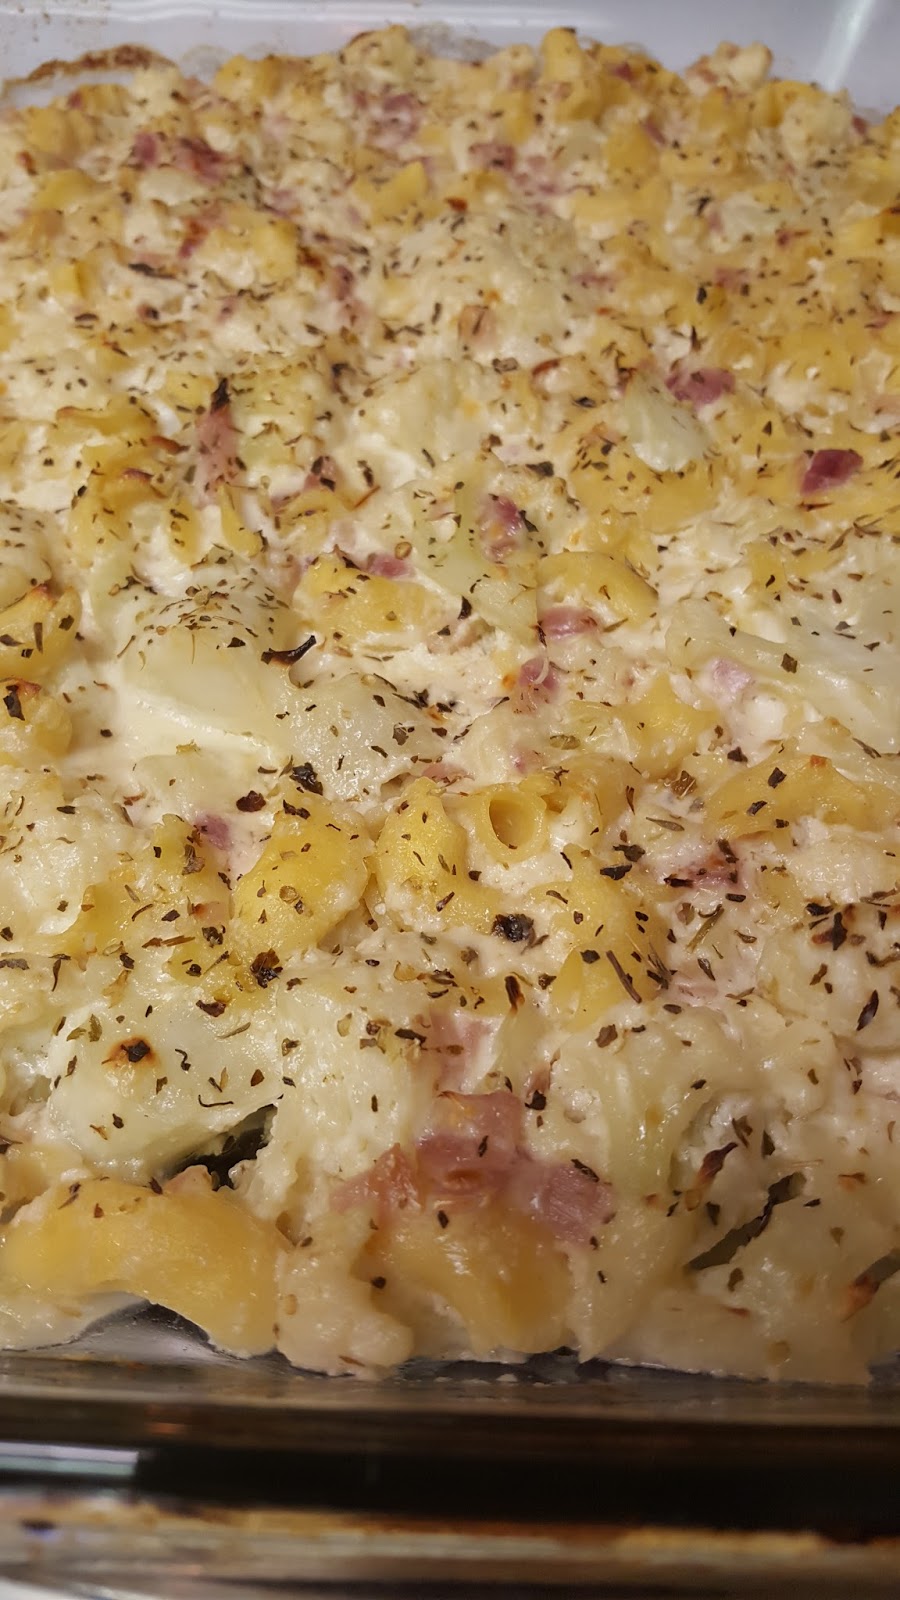
I promise you this is everything you want and more!
Alright, lets talk about some changes that I made. My changes are in italics to make it easier for you to keep track.
When I first made this recipe I followed it to the letter and had great success. However, I started to wonder what would've happened if I added multiple cheeses as opposed to a singular cheese. Truth is, it was good, but I didn't feel like it gave the dish much. Therefore, I went back to one really good sharp aged cheddar. Since we are talking about cheese make sure that you get something that melts easily. If you have a grocery store with a cheese counter I would stop by and ask them about what cheese they recommend. Make sure that you tell them what you are looking for as it relates to flavor profile, easy melting, and the recipe too. This will ensure you get the best options available. Oh, be sure to ask them if you can sample the cheese. Like wine, if you like it, it will do fine. However, if you don't find something you like don't settle because that flavor will carry through the dish.
As luck would have it, I made the perfect mistake in the recipe this time. Normally I would use a yellow onion, but I only had a red onion on hand. Of course I was going to use it and make it work. It added a bonus that I didn't realize until I was taking photos near the end of the process. It gave the photo a much needed pop of color. This is probably the one thing that doesn't make this recipe interesting is that the whole thing is pretty much white. Whether a meal at home or at a restaurant, we eat with our eyes first. Don't worry, we have the technology to fix this. I will get into that in a minute.
When it comes to topping the mac before it goes into the oven to finish the options are limitless. I never bothered with the breadcrumb topping simply because gluten doesn't fare well for everyone in my house. I think it would be a great way to finish this dish, but how about some other ideas? For me, I love the idea of some dried basil, dried oregano, and fresh parmesan cheese over the top. Plus, I love watching it snow fresh parmesan. There is nothing better to me! Also, some fresh ground pepper would be a great touch as well. You could hit it with some left over shredded cheese if you haven't eaten it all. This would work for me because I don't end up with any leftovers. If you really want to get crazy zest some lemon with the oregano and basil. That would a killer combo! The lemon zest will provide some much needed brightness to the pasta as well.
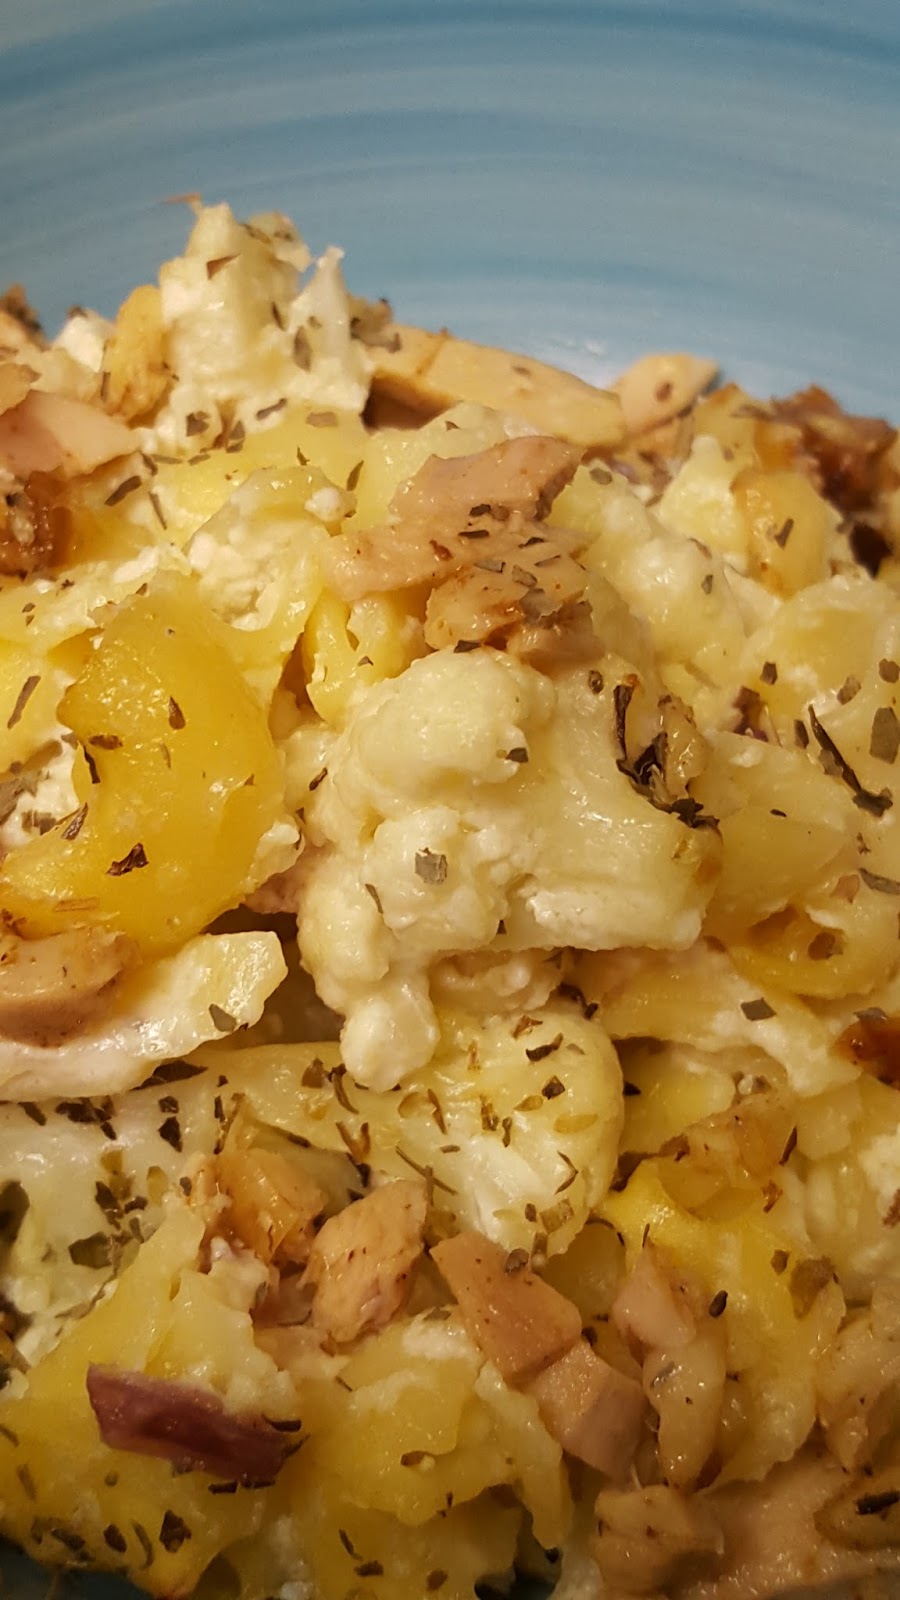
I mentioned the dish is pretty much white, so how do you combat this? I would say the time right before the mixture goes into your baking dish is the perfect moment to remedy this. Heck, you could do anything here! How about add some spinach? Not only for more vegetables, but a great color option. Have some left over mushrooms? Saute those bad boys and mix them in to help give the pasta some body. Also, left over meats would be great here as well. Chop it up into bite sized pieces and mix it in before you put the dish in the oven. You can easily use chicken, pork or beef here. You could really use any vegetables you wanted here. Some bell peppers or carrots would be great, too!
One last note that I wanted to talk about for this dish. Besides the color, my other issue has been the lack of seasoning. Now, that could be because I wasn't using the bread crumb topping, however, I'm not sure that is the only problem. So, how do we deal with this? I think the seasoning needs to be checked right before you load the mix into the baking dish. So, taste it. I would be sure that a little more salt and pepper would be needed. Keep in mind, besides the pasta water, the only place you are adding salt and pepper is when you cook the onions down. To me, that isn't enough to make sure the dish is seasoned properly. Make sure you season! Okay, I'm done now.
Just kidding! I have one final thought I must share. The most surprising thing about this pasta is that it gets better in the fridge. It is good on day one, but day two and three take the prize! Seriously, eat your left overs because it is worth ever morsel!
As always, be sure to let me know what you think about this! You can email me or comment below. Can't wait to hear from you! Enjoy!