What kind of jam you ask? Strawberries, blueberries, peaches, and a variety of other amazing fruits will make excellent jam. Why not, right? Imagine slathering some of this easy, sweet, rich, and tangy, very thick homemade jam on a piece of a buttered toast, or some stunning pancakes to start any weekday or for a special occasion. Heck, you could do all the same for a simple afternoon snack or as an amazing ice cream topper to break out of your usual routine for a special treat.
There you are, ready to go at a moments notice, your very own homemade jam! Why am I still talking about making this jam? Let's do this!
Okay, the recipe for this jam is included below. I have included the original link if you want to see how it was constructed. However, this original recipe isn't very well written in my opinion, but I'm going to write my version of the same recipe below that will be much easier to follow.
This recipe is courtesy of the www.thekitchn.com and the original link to the recipe is included here: http://www.thekitchn.com/how-to-make-basic-fruit-jam-cooking-lessons-from-the-kitchn-193560
Homemade Quick Fruit Jam:
Ingredients:
2 1/2 cups of any fruit of your choice, diced
1 lemon juiced
1/4 cup of sugar
A pinch of salt
2 slices of lemon rind
- Combine all ingredients into a medium-sized pot. Turn the heat to medium and once the mixture comes a boil, mash the fruit until you reach the desired texture Keep in mind, the strawberries will break down more as the jam cooks and you can always mash the fruit chunks more if you need to. Reduce the heat to medium-low until the contents are simmering steadily, but gently. Make sure to stir this mixture every couple of minutes, and let the mixture continue to reduce until you can coat the back of the spoon. Then transfer your jam to a heat proof bowl or mason jar.
Notes: Please note the following in trying this recipe at home.
- Do not attempt to check how thick the mixture is by tasting your jam until it is cool. You have very, very hot sugar in this pot with your fruit and it will adhere to your tongue or skin and burn you if you taste the contents or if it comes into contact with skin. So please be very careful in stirring or tasting when all the sugar and fruit are hotter than molten lava.
- Second, the jam will be at it's full thickness once it has cooled completely. In order to check the thickness just spoon out a little bit of the jam into a dish or onto a plate, and after giving it a few minutes to cool you will be able to taste your jam and see how thick it will be. Or dip your spoon into the jam, and after it cools draw a straight line through the jam coating the back of the spoon with your finger. If you get a clean line then your jam has thickened. This is really a personal preference, so check the jam often to make sure the thickness is to your liking. It is also a good time to make sure you have enough sweetness or citrus in the jam by carefully tasting the cooled jam. If you desire more of sugar or a little more lemon flavor, feel free to add more to suit your tastes. I added an extra teaspoon of sugar to my batch, even though it would have probably been fine without it.
- Reducing this jam does take time, so be patient. However, the result of your patience will pay off in dividends with this recipe.
Shall we look at some photos? Yup, let's do it!

Here they are in all their strawberry glory. Just cut the tops off and slice these into quarters. If you have a few that are overripe, don't worry -- that will help fortify the sweetness and that amazing strawberry flavor.

Alright, everyone in the sauce pot. To get the lemon peel off, use your vegetable peeler and peel two strips off the lemon before you juice it. Trust me, it is easier to do when the lemon is still intact. You will fish these lemon peels out once you are ready to let your jam cool.

We have brought the mixture to a boil, and begun to mash the fruit chunks. When you reach this general consistency, you are ready to achieve jam nirvana.

I included this shot so you can get an idea of what your simmer should look like while your jam reduces and thickens.

Alright at this point, the photo above shows the jam once it was transferred to a bowl to cool. As it cools, stir the mixture every couple of minutes as this will help speed up the the cool-down process. Otherwise, you will only expose a certain portion of the hot jam to room temperature air and it will take much longer to cool. You can't wait too long to try this jam, right?!

After it begins to cool, you will notice there is a change in the color of the jam. This is a good sign, so let the jam just continue jammin'. Yeah, I had to do that!
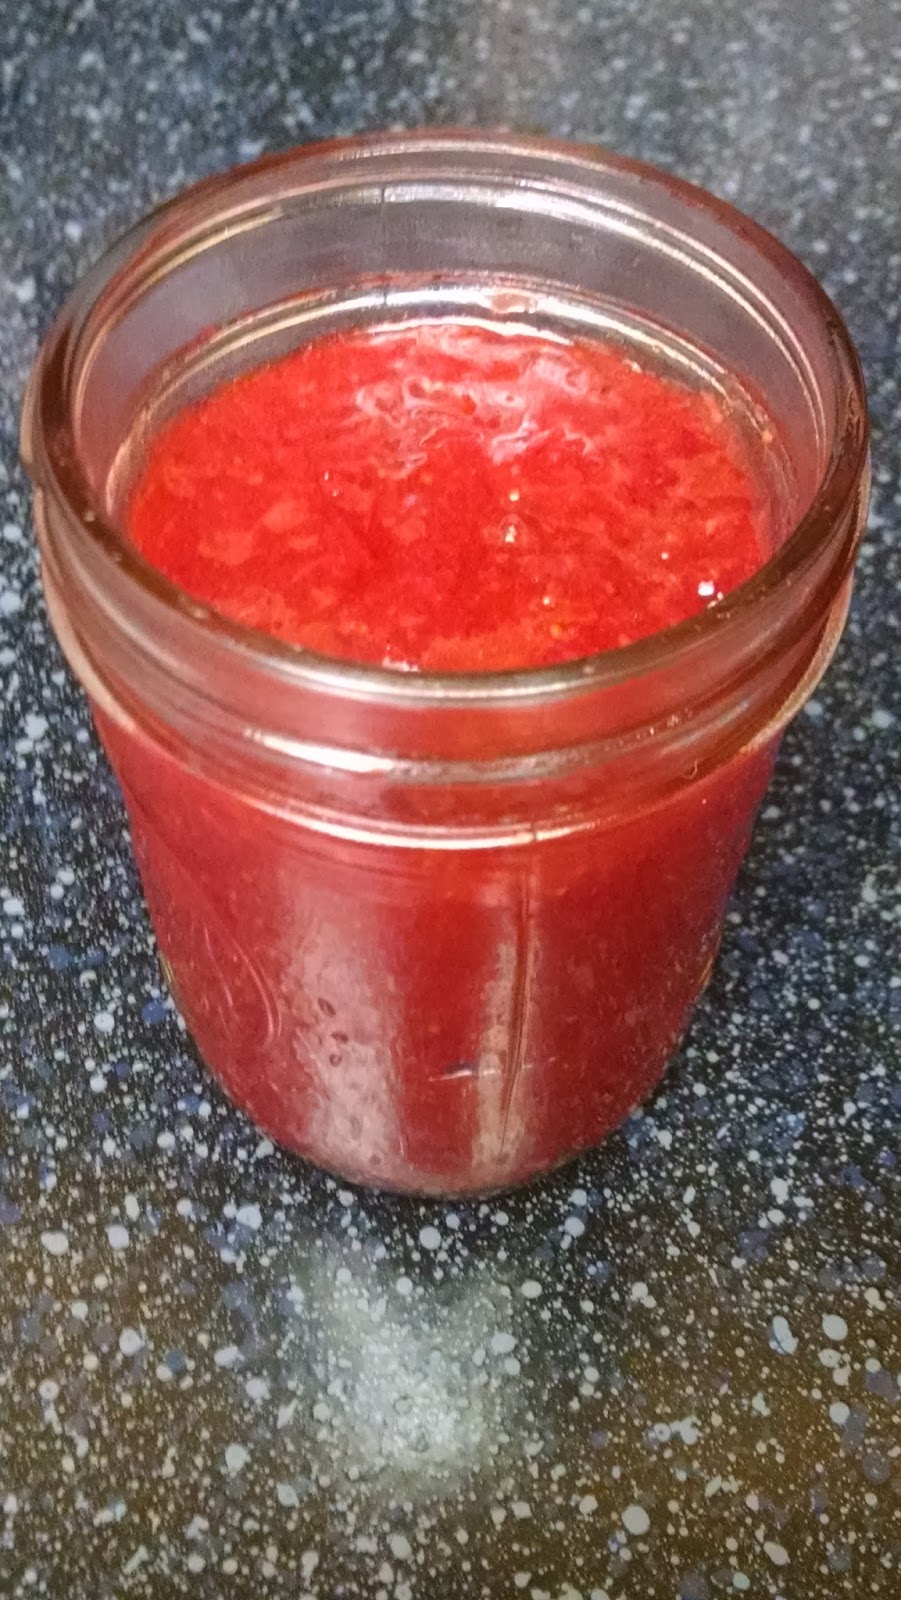
Here it is.Your finished jam in a jar. This recipe yielded about 7 oz or just under one cup of jam.
Congratulations! You have done it! Your very own homemade, delicious fruit jam. Don't forget, this will work with a myriad of fruits. Please note, once you throw this in the fridge it will keep up to three weeks. One last thing to keep in mind, we haven't added any preservatives to this at all. The jam thickened on its own and all we applied were some basic techniques and a little bit of heat.
There you are! I hope you enjoy this stunning, summer jam!
No comments:
Post a Comment